- Sep 19, 2025
- 1 min read
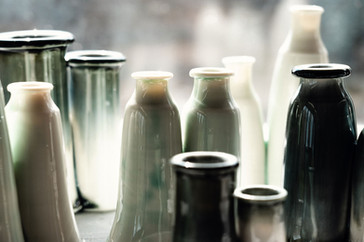
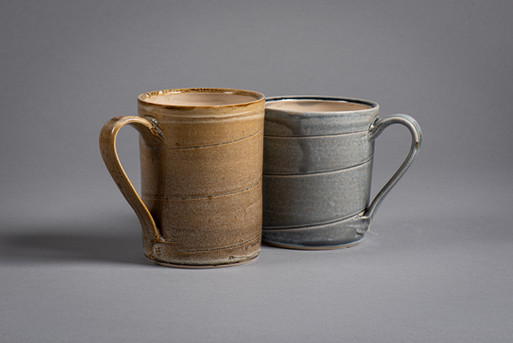
The wonderful part of teaching ceramics is getting to see what wonderful pieces our students create. Even when using the same stoneware clay, underglazes, slips and oxides individual styles emerge and we are always surprised at what comes out of the kilns.
Watch the video below to see just some of the pieces made by students over the summer.